Over the years I’ve spent countless hours in art studios learning how to draw. Every teacher had a bit different rules, but the rules were always there. We were focusing on the rules of perspective, constructing the shapes, the way how, when and which pencil to use… There were also rules how to sharpen the pencil! And even though the skills may be great for my technical drawings, they gave me a very particular sense of art .

Only around my second year (when it was waaaay too late for me), my art professor mentioned a thought that got to the back of my head and stuck with me.
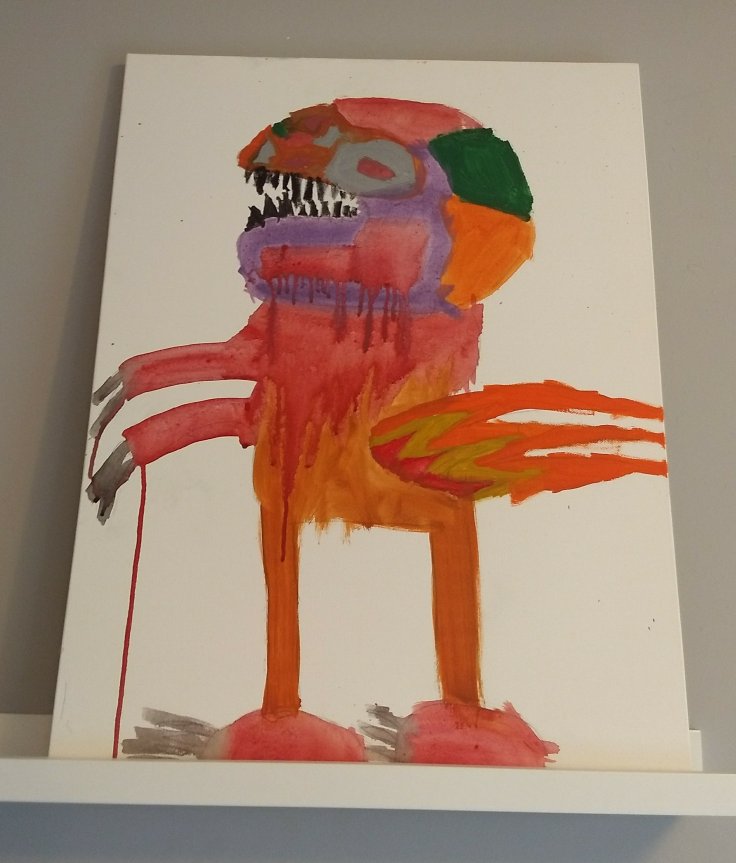
Every kid is a natural artist. They are brave. They have unspoiled natural sense of composition and colour balance. The worst thing we can do is to interfere with it.
Well, being a parent and having the constant need to teach them something new does not go well with this theory. But I am trying hard!
Sometimes they need a little bit of motivation. We would look for inspiration around us or on YouTube, watch different techniques being used. There is only one rule: never replicate, always follow your own instinct. It does work… sometimes:)
Often kids will surprise us with their ideas and clever solutions (not only in the art projects).
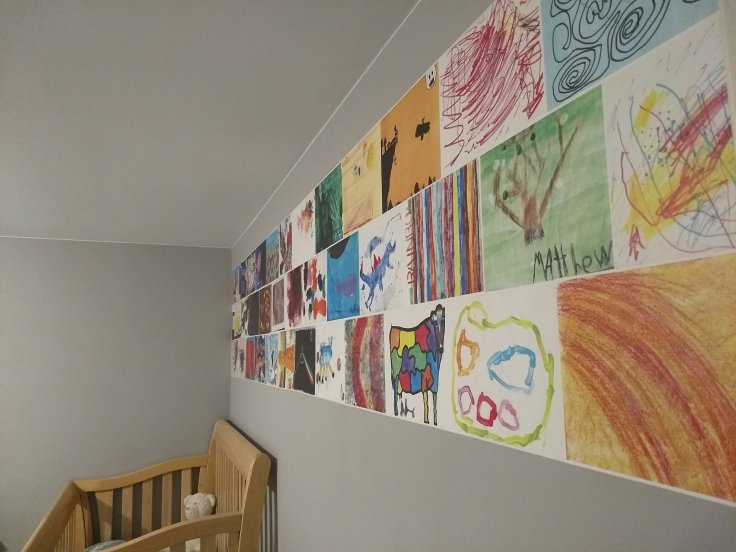
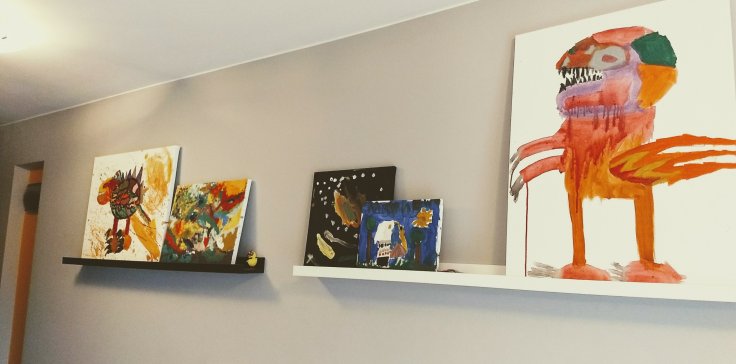
By now, our house is starting to look like an art gallery…but what else can you do when you have 3 Artists at home;)
We tried tone of different ideas and techniques and here are some of our favorites (established in a proper voting system;)):
1. Jackson Pollock
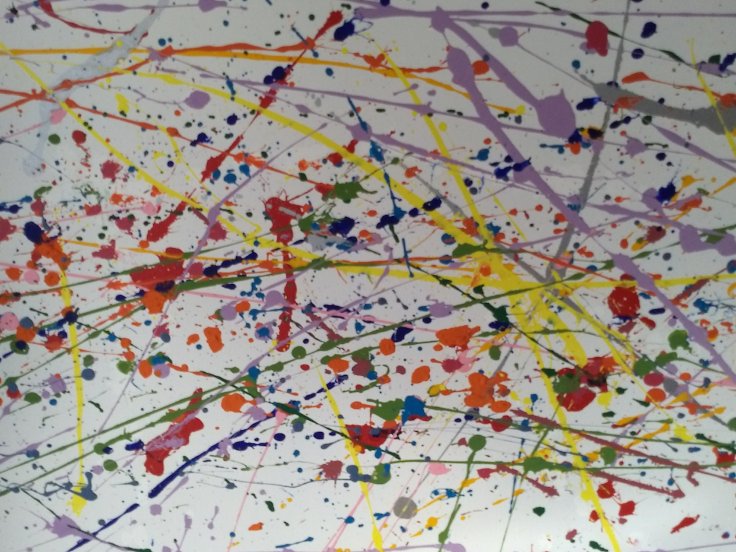
Now, that’s an inspiration! An easy to grasp technic combined with complete freedom. Kids just love it although (because?) it can be a bit messy.
We got a good size canvas, set it in a safe spot in the backyard, took out all the leftover paint we could find (including wall paint), couple brushes, and went wild.
Good to know:
- Thick paint doesn’t really work. It’s better to water it down.
- You don’t really need a brush. Splashing directly from the paint tube/container is even more fun.
- I added couple spots of the same dark blue paint we used for the wall where the painting ended up. It gave quite a nice effect.
2. The melted crayon
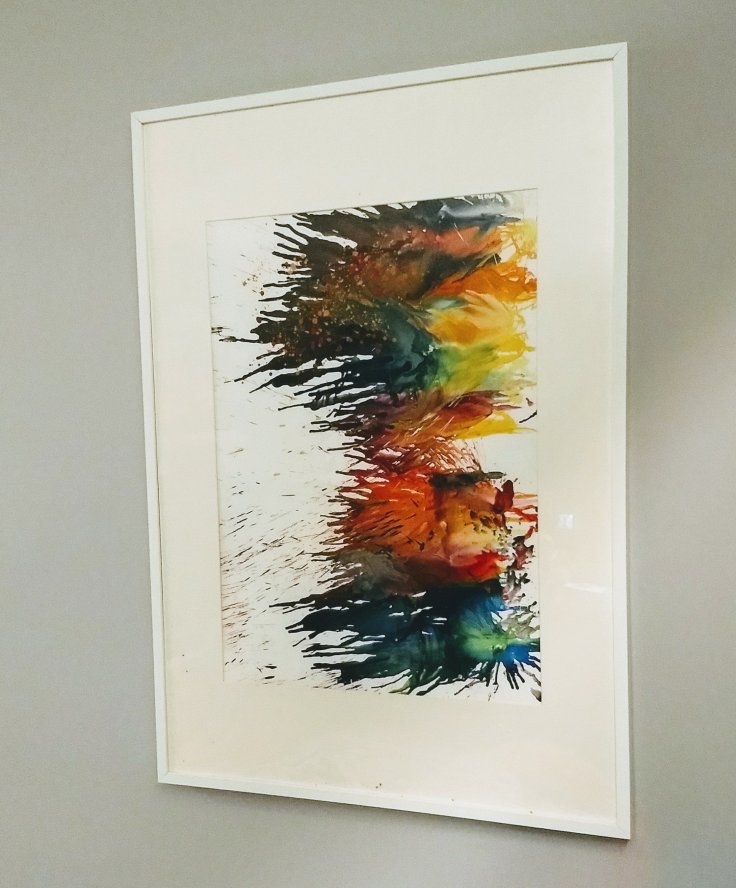
This quite popular technique is a perfect way to play with colour.
We’ve tried it already couple of times: on paper, on canvas, on little and large formats.
We taped the crayons at the top of the canvas and melted them with the hairdryer. It didn’t work very well. Instead, we melted single crayons in random spots. Then, blew the colourd paddle down the paper. I feel that this way let us be more creative and gave some surprising effects.
Good to know:
- Melted crayons splash all over the place (including over blow dryer)
- The colours quickly mix into brown. Don’t overdo it.
3. The giraffes
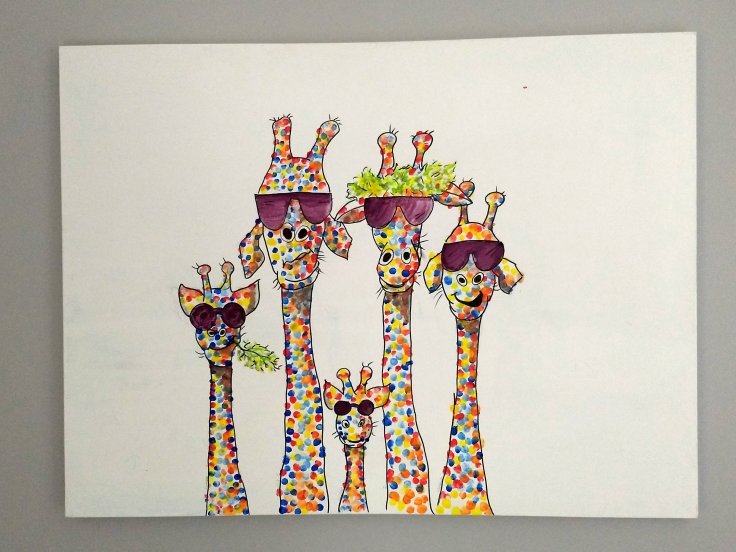
We found inspiration for this one in ours optometrist’s office (see: the glasses). They have a similar picture in their reception area.
We took the spotted giraffes concept and turned it into our family.
I did a quick sketch, trying to capture our most distinctive features (long necks, funny ears…). Then, using our fingers we filled them with colour.
On top of it couple finishing touches: black lines and shadows, and the giraffes were ready to go on the wall.
Good to know:
- I found a permanent marker best tool for all the black lines (not too fancy, but super easy)
- Adding the shading with light grey paint over the colourful dots really brings out the contour and adds a bit of 3D effect

Leave a comment